
The purpose of Think Back Thursday
is to link up a photo post about something from the past. You can
reach back all the way to your childhood and bravely post pictures of
you in your wild clothes and hair styles or post something from last
year and tell us about it. I'm not picky. Hey, even yesterday was the past... LOL I hope you will join us.
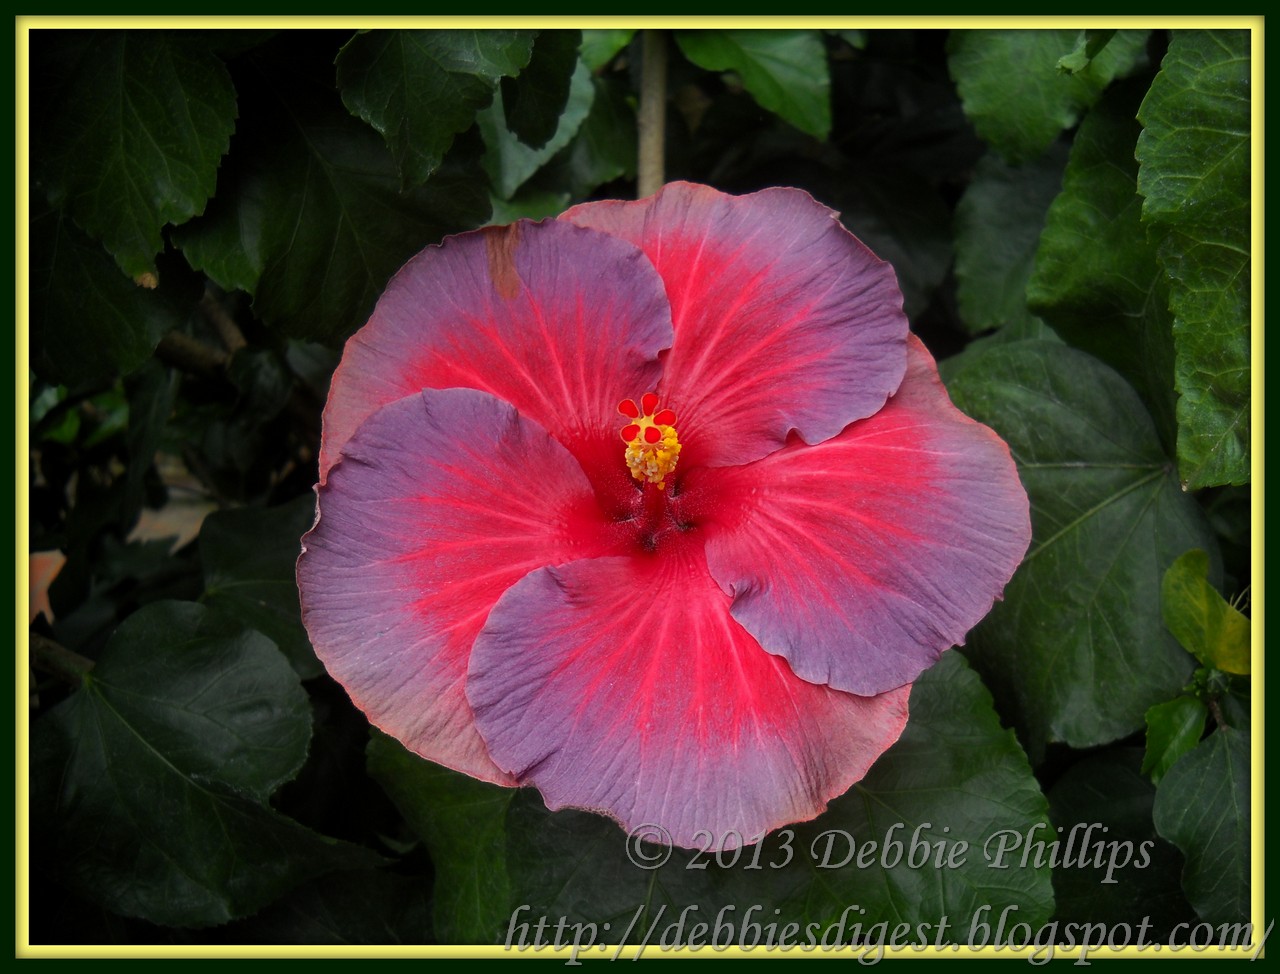
Original Photo

Boost

You don't need much boost for flowers so red and colorful already. I
used a little more than I normally would so you could see the
differences.

Soften

No explanation needed... it just softens the photo.

Vignette

Love this feature.
You get to choose the color of the Vignette, the size of the area that gets tinted, the strength of the tinting, and fade takes it from full vignette back to the original.

Pixelate
Makes your picture look like it is made up of little pixels.
You see that you get to pick the size of the pixels. Blend Mode doesn't work well, at least for me. It sometimes makes the picture go black. I didn't touch the Blend. Fade makes the pixels less noticeable and since I wanted you to notice the feature I didn't use the Fade button either.
Focal Zoom

Focus on the center and blurry as you go out.
Zoominess is... um... zoominess.
Focal size is the size of the circle in the center that is in focus. See screenshot below. When sliding the Focal Size the circle grows or shrinks and so does the area of focus in the picture.

Edge hardness
If you slide the edge hardness to the right you eventually get this effect...

Do you see the edge of the zoomy circle???
Not really a good look but I did it to demonstrate what the edge hardness does. When it is all the way to the left there is a smooth blend from the zoom part to the part in focus in the center.
Here is the final zoom with it all blended smoothly.

Pencil Sketch
This one is sooo cool
This setting goes with the first Pencil Sketch sample

Completely black, white and gray.

In this one I moved the radius, strength and fade so you have some color.
Also a cool effect.


Neon
This is self explanatory.

You get to choose the color of the neon, and you have a fade button as you see.
This one I used the fade a little to show some of the original color of the photo.

This one I used no fade and reddish orange color

This one also used no fade and dark blue. Really, really COOL.

Comic Book

Strange and I have no idea why you would want to show the dots like you get in a magazine or newspaper... It is just weird. Nevertheless, there it is. I exaggerated the features so that you can really see the dots.

Border
I love this one.

Change colors, thickness; and corner radius. Corner radius can change a square photo to a circle, a rectangle photo becomes an oval.
If you like the affect of the square or rectangle background with the photo as a circle/oval you can leave it like I did below. If you want only your circle/oval photo to show up with a boarder and not the second square/rectangle behind it, you have to set the outer color to match the background of your blog; or wherever you are putting your photo.
I did not know that the corner radius changed it from square corners to rounded or completely round until I did this tutorial. So even I learned something.
I did not use Caption Height but if you use it you can leave a space at the bottom where you can write something about the picture using the text from tab 1.

Here is just the corner of the photo with less corner radius used. Makes it look like a rounded corner like I do when I crop photos for my scrapbooking.

Drop Shadow

Choose color. Angle changes where the shadow goes. Size is thickness of the shadow. Fade, of course, fades the feature out. Looks kinda cool with a purple shadow.

Museum Matte
I use this one ALL.the.time.

Again choose colors, complementary or contrasting to your photo. You have the complete color pallet to work with. And choose the thickness of each part of the matte.
Polaroid

Self explanatory. Makes your photo look like the old Polaroids.
Kinda Cool.

Final Photo - cropped and using Vignette and Museum Matte

I can't remember if I used anything else... and I didn't write down what I used.
Oh, well!
It looks pretty..!!!
Playing with Photos Series
Think Back Thursday ~ Playing with Photos - Picasa
Think Back Thursday ~ Playing with Photos - Picasa, part 2
Think Back Thursday ~ Editing Photos with Picasa, part 3
Think Back Thursday ~ Picasa Week 4
We are done the tabs now. Next week we will cover some of the other features. I have some work to do this week on it too, because I don't have the pictures ready yet... and then it takes time to write the post.

In February
(and first week of March)
2/7, 2/14, 2/21, 2/28, 3/7 a series on Playing with Photos
ONE MORE WEEK

ONE MORE WEEK
What program do you use to fiddle with your photos?
Let us know and show some of the things the program does.
If you don't want to join in on this one... mine will be a series for all of February...
you can choose your own topics and post what you would like.
I have been wanting to do this on my blog and decided to do it for Think Back Thursday since I use a lot of photos for this meme. It will take some planning ahead to get this one ready so I am giving you all of Jan to work on it.
I have been working on this and it is going to be GOOD! I can't wait to share with you.
I look forward to seeing what you show us... whether you do Playing with Photos or your own thing.
Gotta figure out what is NEXT for March???
Suggestion??? Leave me a comment.
Here are the Rules for participating:
- It can be about you, about your kids, about your parents, whomever. You can include video, I will not exclude video alone posts, but I prefer them along with photos, as this is a photo meme. I am doing a weekly theme now. That should help narrow it down from the myriad of photos we all have. For ideas check out the other posts in my label Think Back Thursday.
- Link up below. Please use a permalink that sends readers directly to the correct post. If you are not sure what that is click the word permalink for an explanation.
- Mention my blog and offer a link back. This is a requirement to take part and a kind gesture to me your hostess as well as your readers--they will know where to join in the fun, too. You can put the Think Back Thursday button on your site and in your post. You will find it on my right sidebar. Please use it to link to my site, to spread the word about my meme. Using the button will help others know how to find me and how to join. Tell others to click on the button in your post to find us here.
- Leave me a comment. First so that you can let me know what you think of my pictures and secondly so that I will know a new post has been linked up and I can come visit your blog and comment on your photos.
Join me!

all content on my blog is ©


